Wallets & Settings
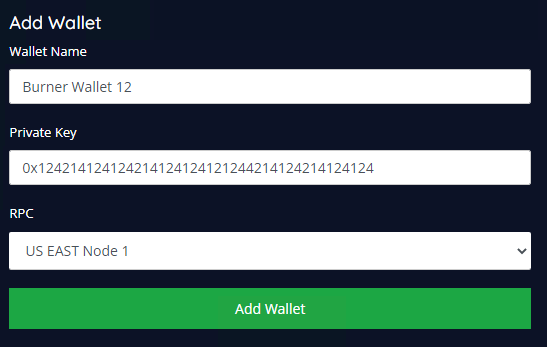
On the "Wallets" page you will have the option to add new wallets to your BOT. Use the "Add Wallet" form and complete with the required details You will see a drop-down where you can select an RPC. We highly recommend using the "US EAST Node 1" or "US EAST Node 2" when using an AWS US EAST (N. Virginia) instance Click "Add Wallet" when complete You must make sure that you add your wallet which is holding the XC Token to the wallets page. If your wallet is not added, you will run into errors when creating tasks When changing RPC's at a later date, you are required to restart the BOT for the changes to be visible
On the "Settings" page, you will see another form with pre-filled data. Under the "WebSocket" option, we highly recommend using the "US EAST Node 1" or "US EAST Node 2" for hyped mints (See Sub Guides/Selecting WebSocket for more information) Always leave the WebSocket API Key as "xolar" unless using a custom Blocknative configuration When making edits to your Websocket, you will be notified that you need to Restart your BOT. The NFTXolar.exe file will automatically close The "Max Priority Fee" and "Max Fee" are the gas setting used when using Estimate Gas mode or Flip (Match on Confirmed)
Last updated