Creating a Task
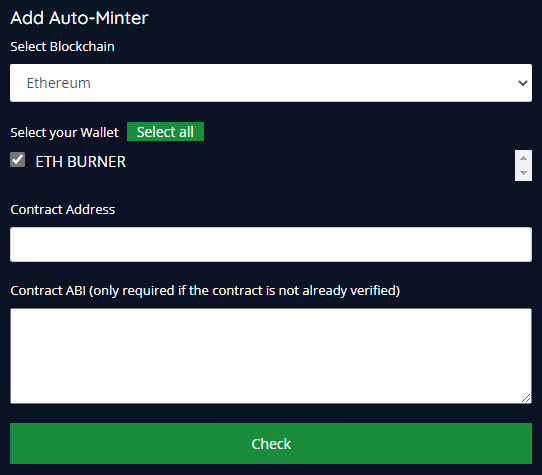
Mint tasks can be created on the "Auto-Minter" page. You will see a "Add Auto-Minter" field on the right of the page I'll go through the process of creating a simple mint task using our Flip (Match on Pending) mode. The options may seem a little overwelmin at first for first timers, however you'll get the hang of it really quickly
Select your Blockchain and then Select the wallets you want to setup the task for. Use the "Select All" button to use all wallets added to your BOT
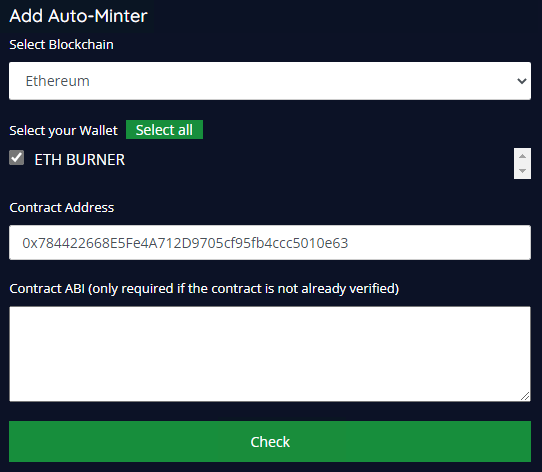
In the "Contract Address" field enter the official contract address of the project you want to mint and click "Check". The BOT will now pull necessary data from the contract for you to populate the next fields The "Contract ABI" box can be left empty for most mints. For contracts that aren't verified on Etherscan we have to manually input the contract ABI here (We'll provide guidance where necessary)
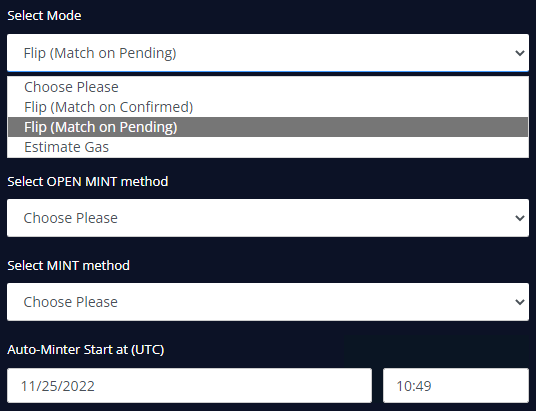
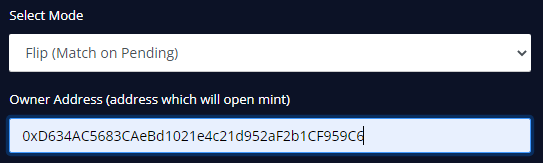
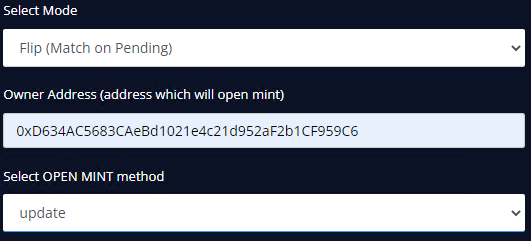
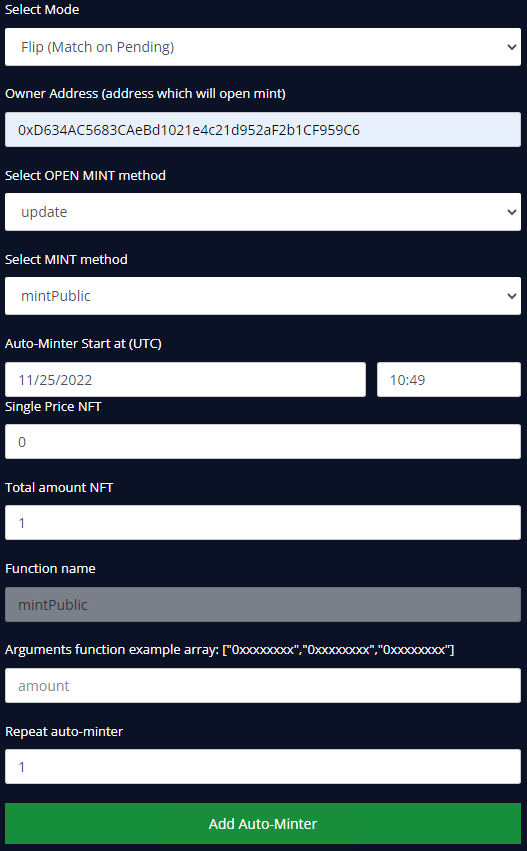
Under "Select Mode", select your preferred mode. This example uses Flip (Match on Pending) which aims to hit the same block as the flip transaction
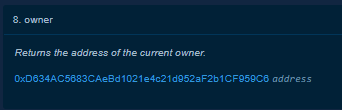
In the "Owner Address" field, input the contract owners address. This can usually be found on the contract itself under "Read". It's vital that this address is inputted correctly otherwise your mint task will not send when it's time to
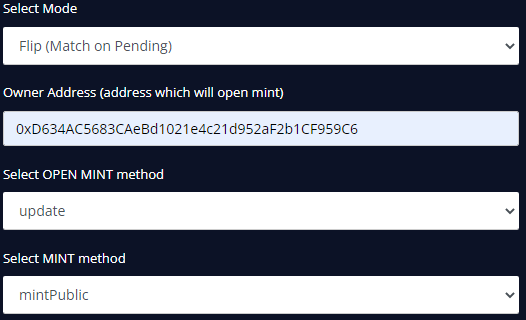
In the "Select OPEN MINT Method" field select the functions which the contract owner will use to Open the mint. This is usually something like setPaused, openPublic, enableMinting, enableWhitelistMint. The function name all depends on the contract, however they are usually called very similar names In this example, the function that makes the contract mintable by public wallets is "update"
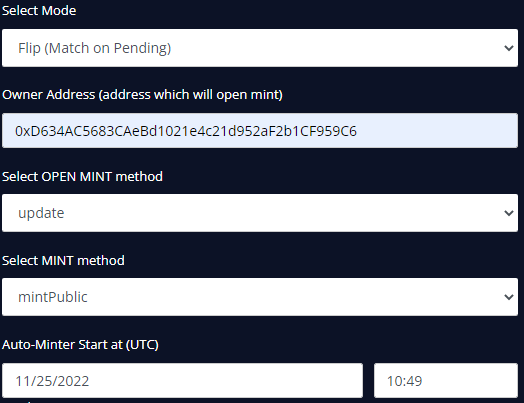
In the "Select MINT method" select the mint function that you will use to mint. Again, these are usually called very similar names like mint, mintPublic, mintWL, buy In this example the public mint function was "mintPublic"
The "Auto-Minter Start at (UTC) allows you to set what time you want your task to start at. It will automatically set the time to the current time meaning the task will start running straight away. For 99% of mints you will want to leave it like this
The "Single Price NFT" and "Total Amount NFT" fields are dependent on the contract you are minting. In this example the mint was FREE so we set price to "0" and it was 1 per transaction so we set the total amount to "1"
The fields below the previously completed ones are all dependant on the contract. The required inputs may be different for each mint, however the input fields that are required are automatically fetched from the contract. The "mintPublic" function in this example contract only requires an "amount" so we are only seeing 1 input field In other scenarios, you may see fields like walletTo, merkle or signature, however most public mints will be similar to the example Since we know that this contract is 1 per transaction, we set the "amount" field again to "1". The "Repeat auto-minter" allows you to repeat your task multiple times (It will send a new mint transaction once the previous one has been sent). It's best to leave this at "1" for most mints
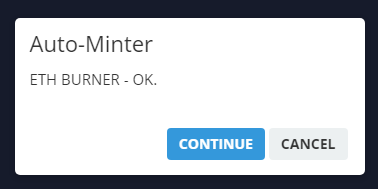
Once all fielfds have been successfully completed, click "Add Auto-Minter" and wait for the success message imaged below. If you run into any errors here double check that you haven't missed any fields
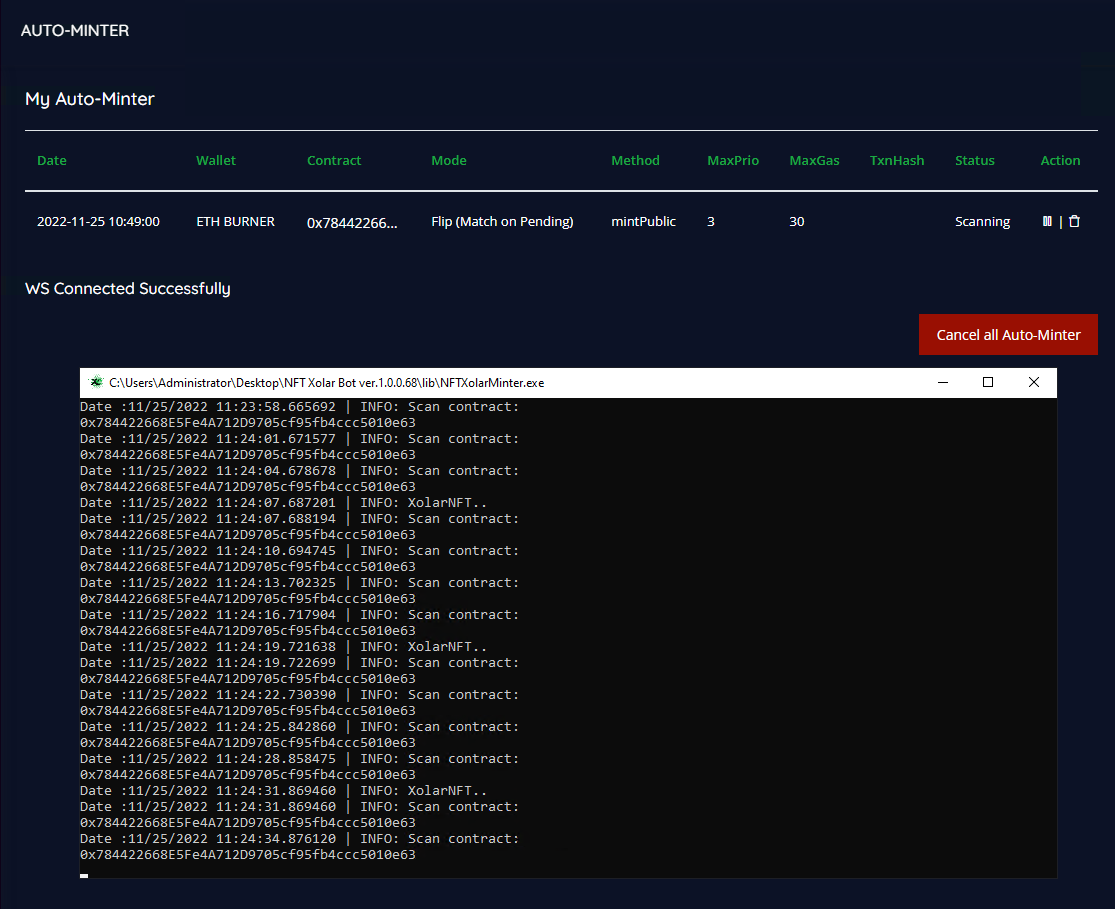
You will now see that your task has been successfully created and is running. You can view the XolarNFT application to see the live logs of your task(s)
The logs will show when the bot detects that your transaction can be submitted (Mint alert), when your transaction was successfully submitted and is pending (AUTO MINT SUCCESSFUL) and also whether your transaction was Confirmed/Failed
Last updated