3. Connecting to your VPS
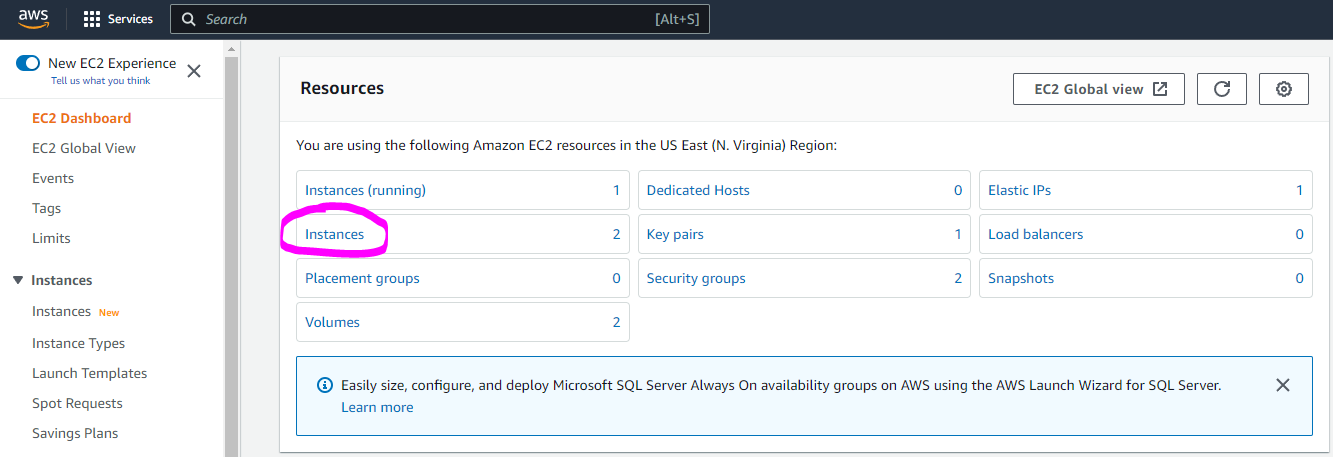
On your EC2 dashboard, you should see an option for "Instances". Click on here and you should now see the server we created in the previous steps
By default, your machine should be in a "Stopped" state. This means that your account is not getting charged for usage. You can turn this VPS on by selecting it using the checkbox and then using "Instance State" drop-down
Once started, your "Instance State" should now change to "Running". This may take a moment and you may need to refresh. To stop the instance you can do the same as the above step but select "Stop Instance". The "Terminate Instance" options is used to delete your server
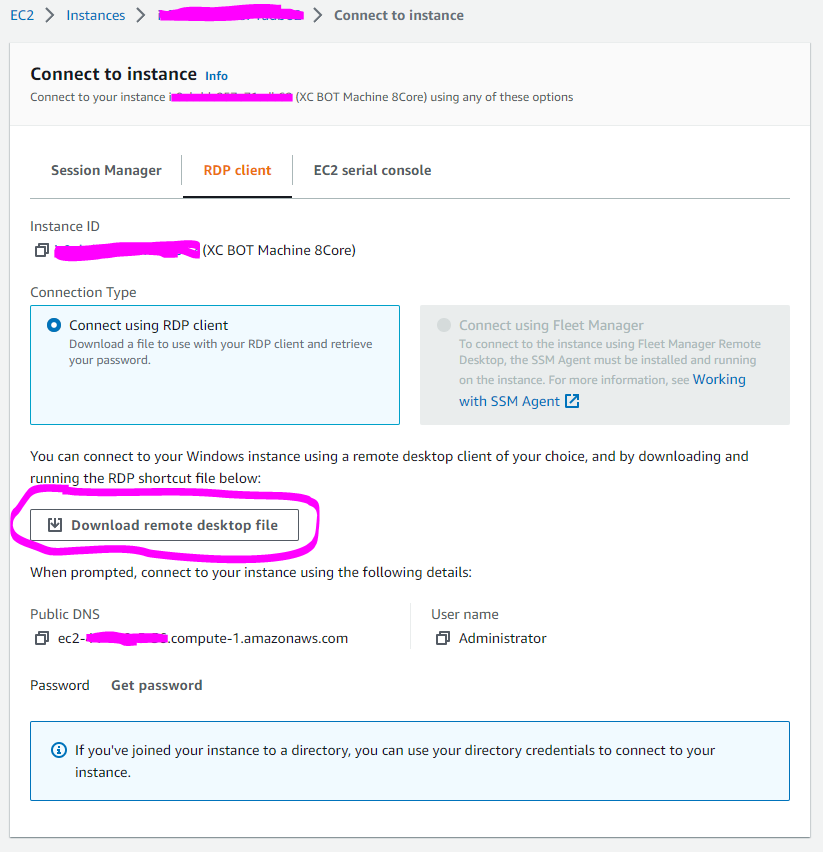
Once your server is in a running state you can now connect to it via RDP Client. To connect, simply select your server and hit "Connect" button
In here, select "RDP Client" along to top options and then press "Download Remote Desktop File"
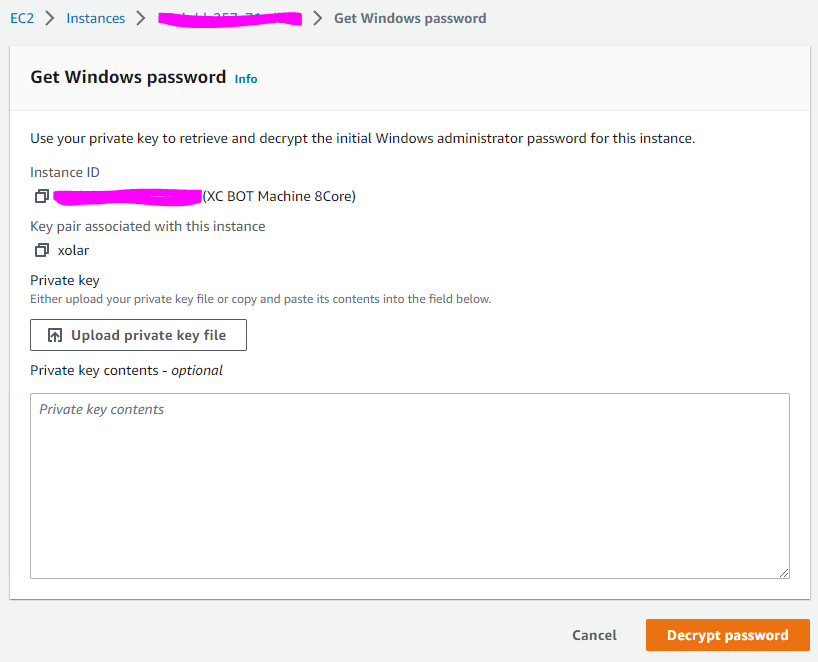
Once the file is downloaded, press "Get Password". In here you will need to locate and upload the key pair you previously created (Refer to 2. Launching VPS - Section 7).
Uploading key pair will show an option to "Decrypt Password". Copy the password. You'll use this to connect to your VPS
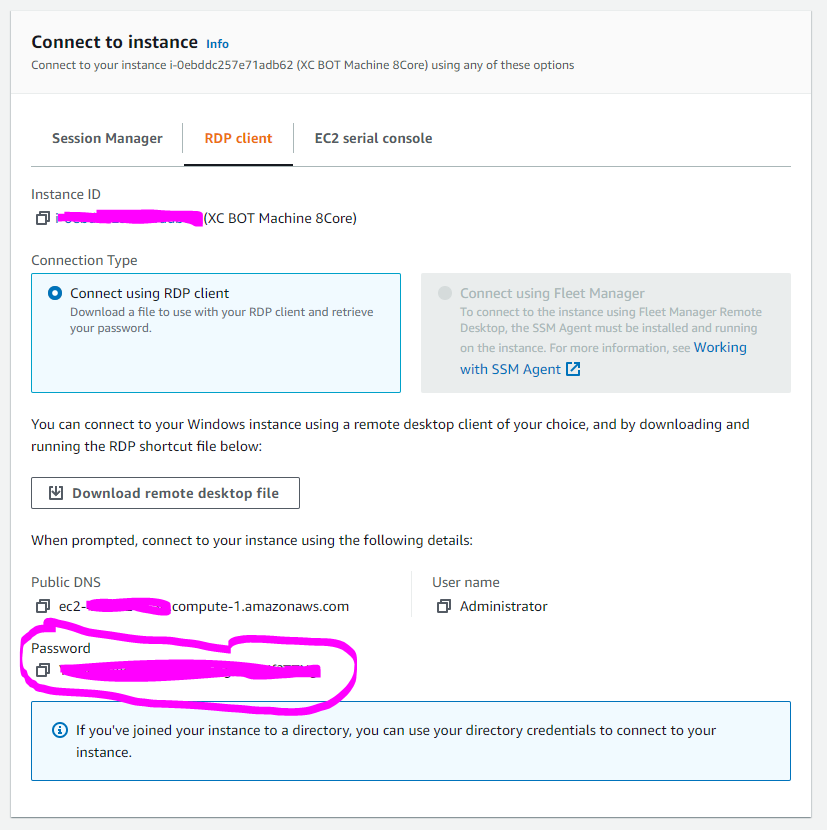
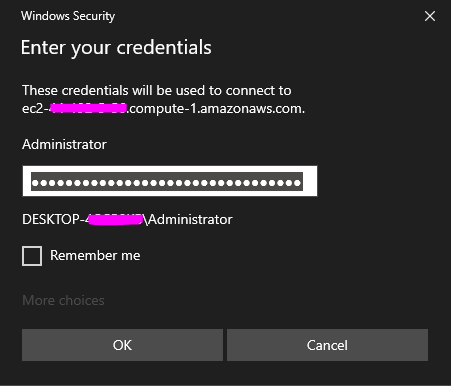
Locate the "Remote Desktop File" you downloaded in Step 5 and open it. It will ask you to confirm connection and for a Username and Password. Your Username will always be "Administrator" by default, and you password should still be in your clipboard if you coped it in the earlier step. Paste your password in and hit connect
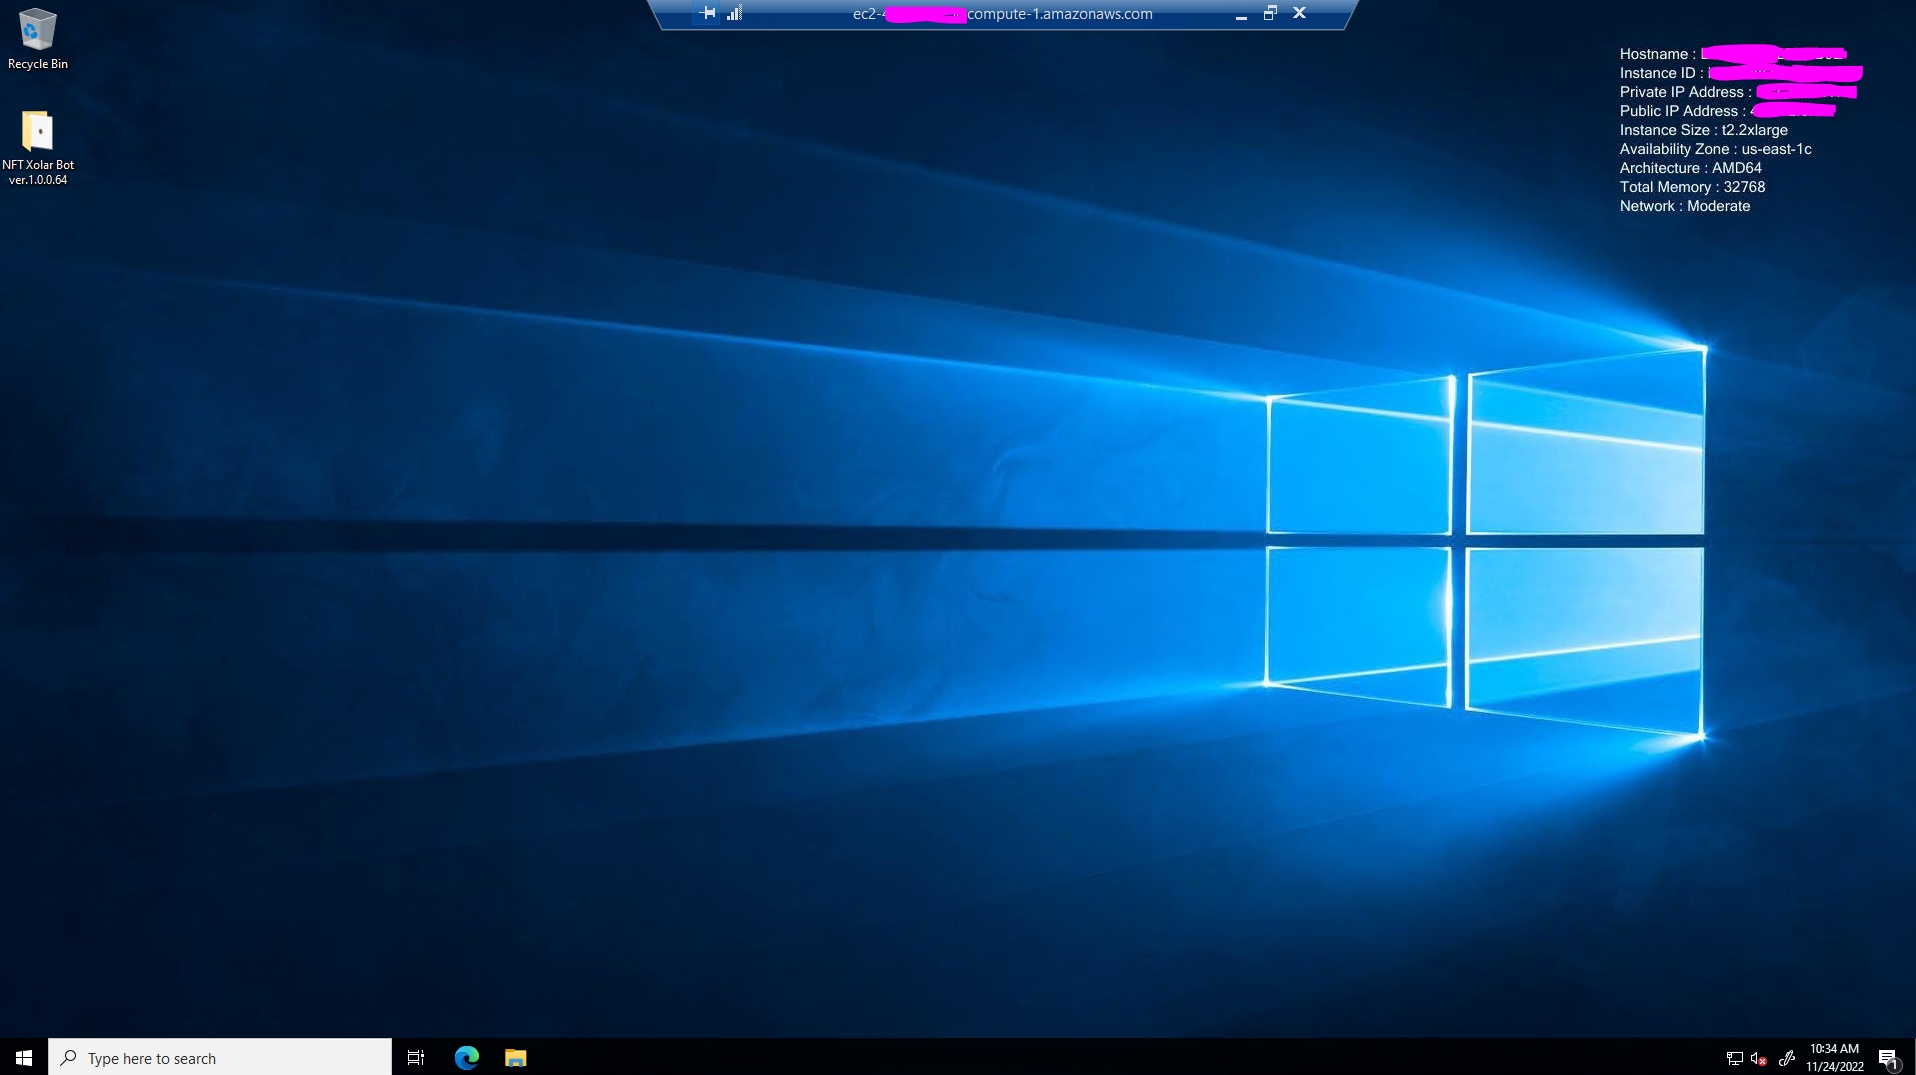
If previous steps were completed correctly, you should now be met with the Windows Desktop screen. You have successfully connected to your VPS
Last updated