2. Creating the VPS
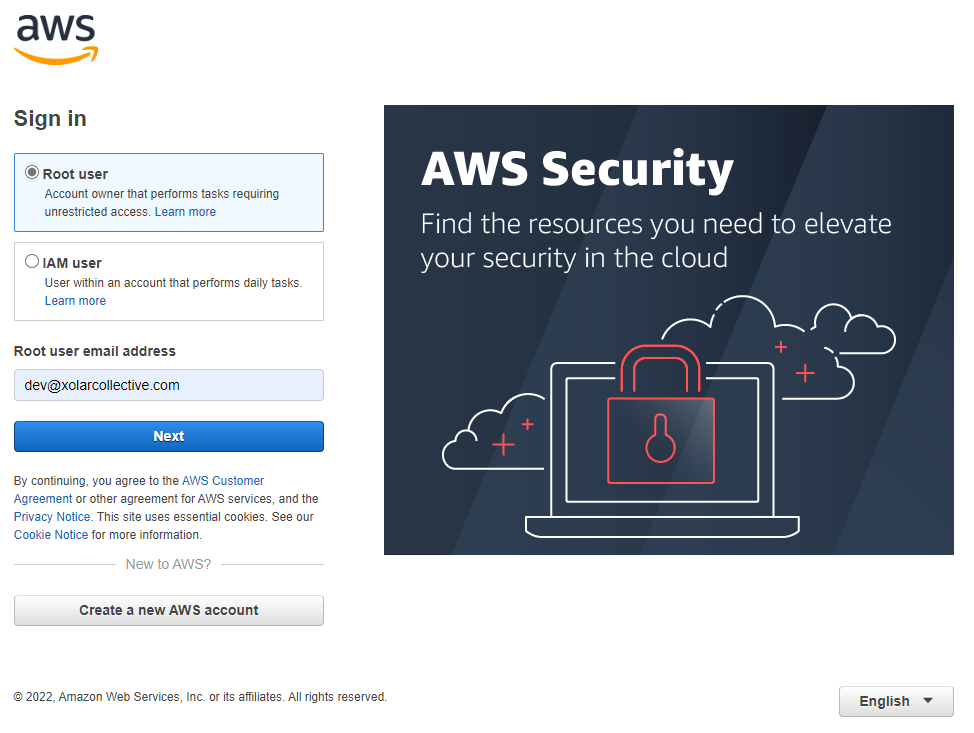
Sign in to your AWS Account
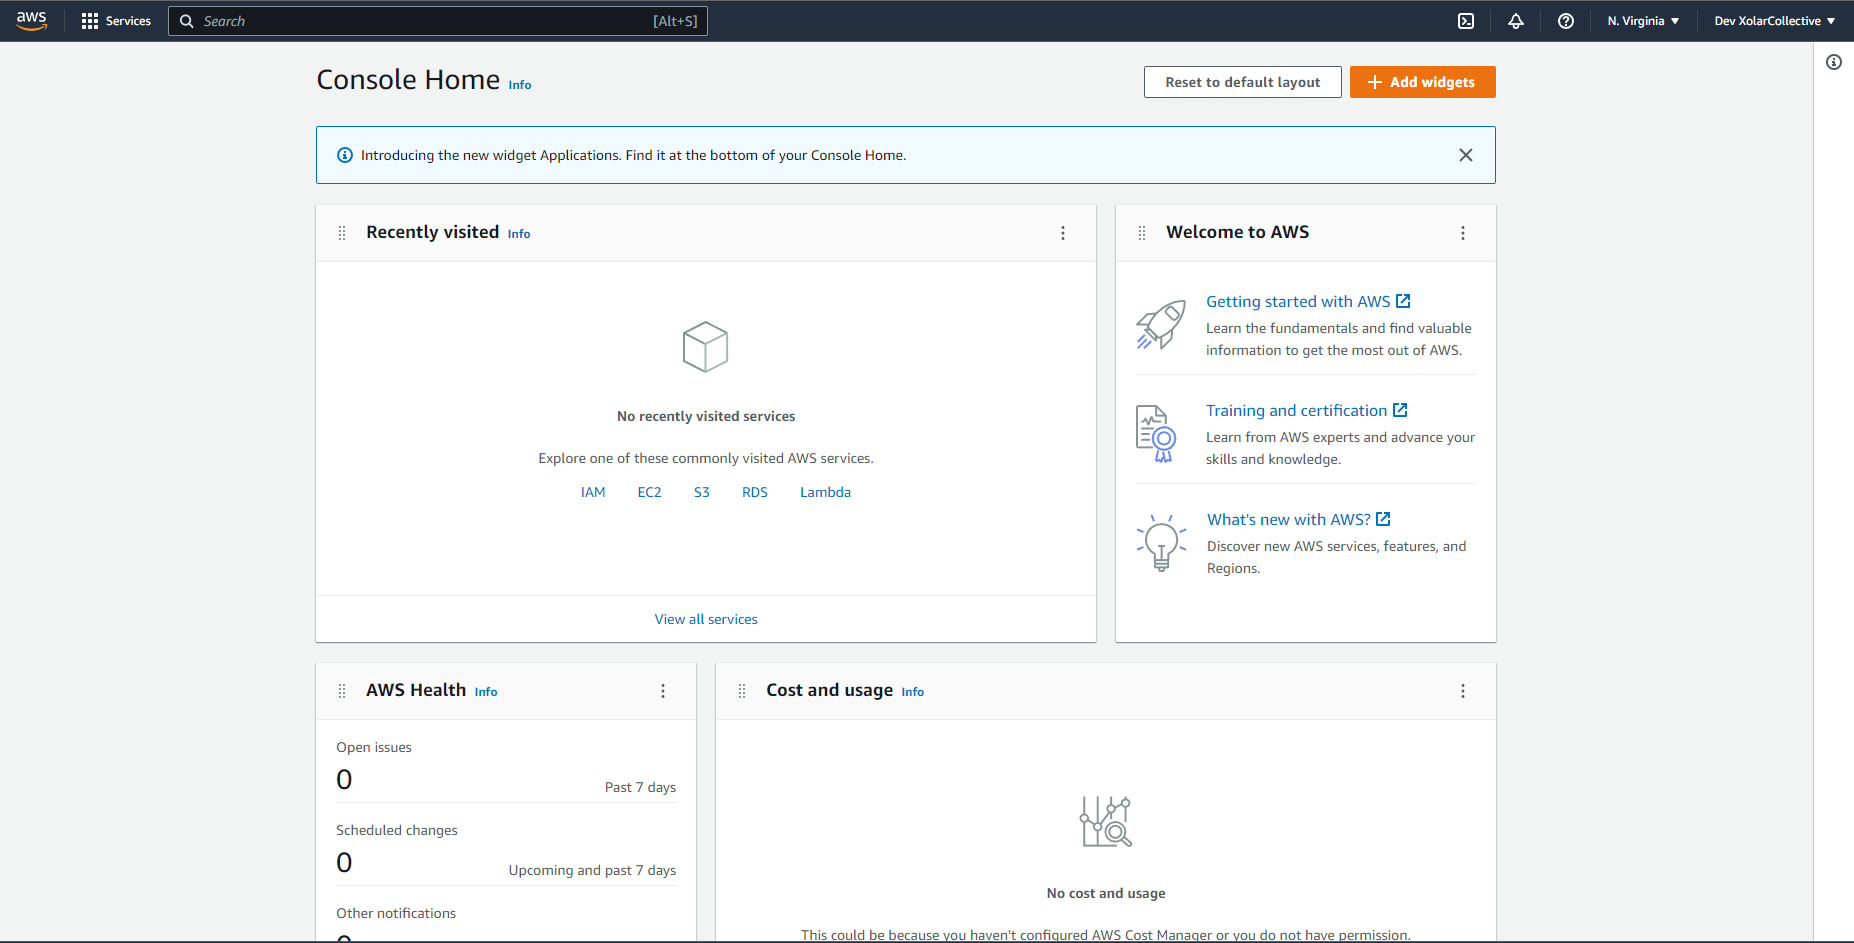
Once signed in, you will see the AWS console images below. It's important that you make sure your region is set to one local to you. You can select your region in the top right corner. The EU regions are recommended here to avoid potential issues down the line
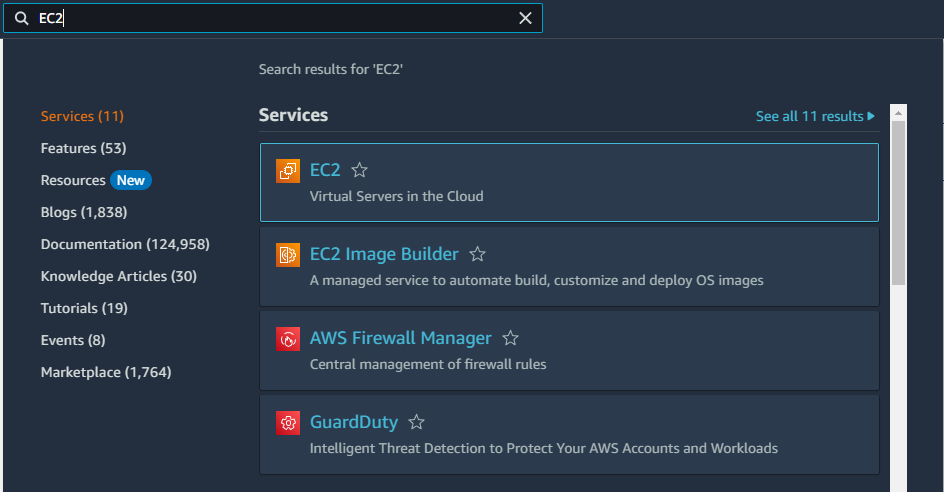
Use the search bar in the top left corner and search for "EC2" and click on this. It should now take you to the EC2 instances page
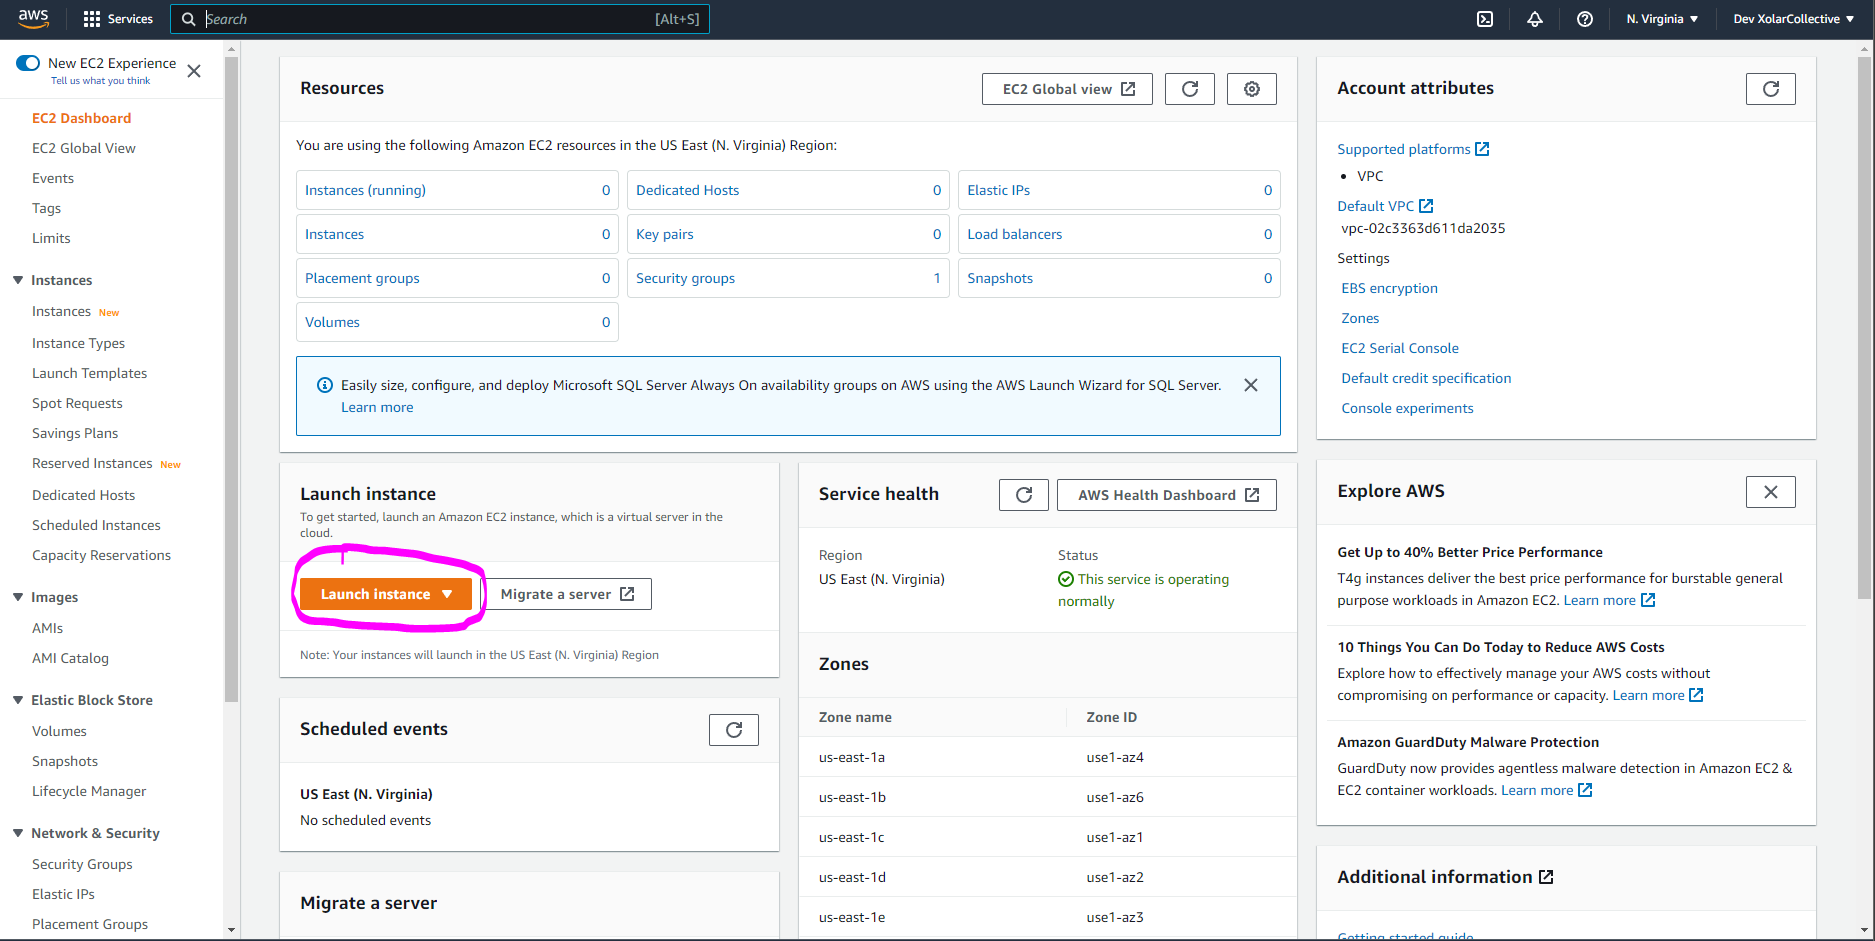
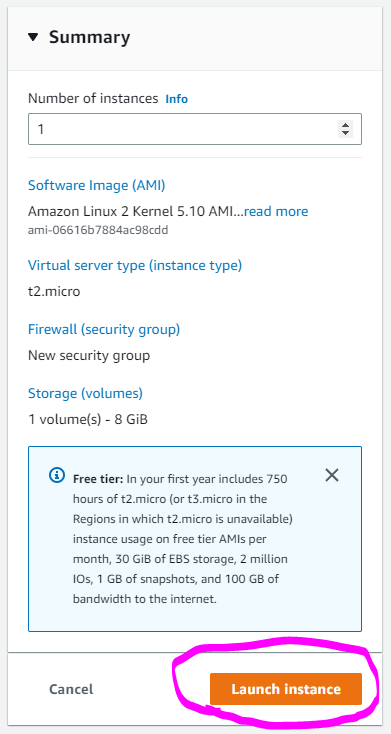
On the EC2 page, click on the "Launch Instance" (Circled below)
Give your server a name and make sure you select Windows as your OS
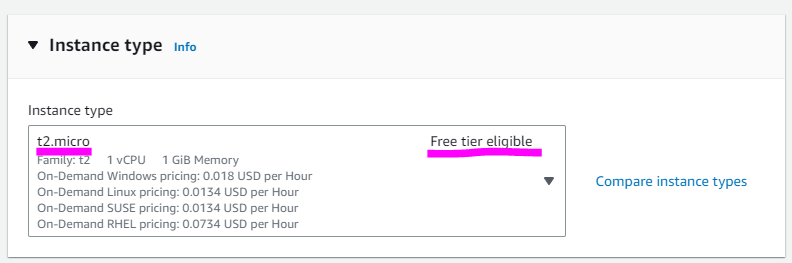
For the instance type, we highly recommend using the t2.micro This is will be labelled as "FREE tier eligible"
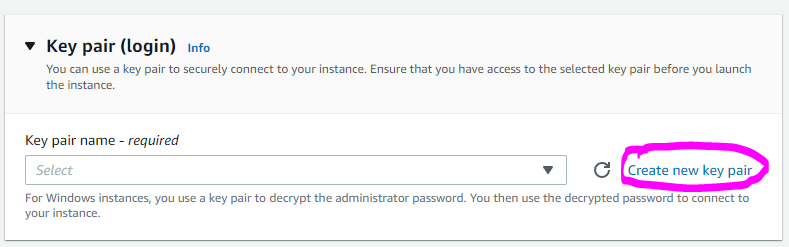
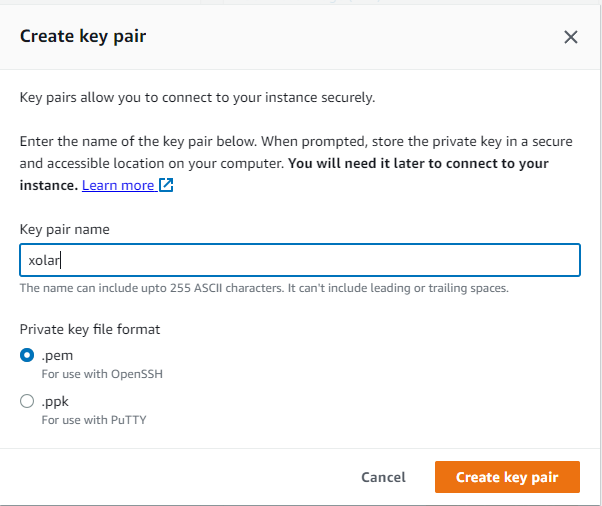
Create a new key pair if this is your first time setting up a server on AWS. Give it a name and leave the format as .pem. Make sure your know where this is stored as you'll need it to connect to your server (It should be in your Downloads folder by default)
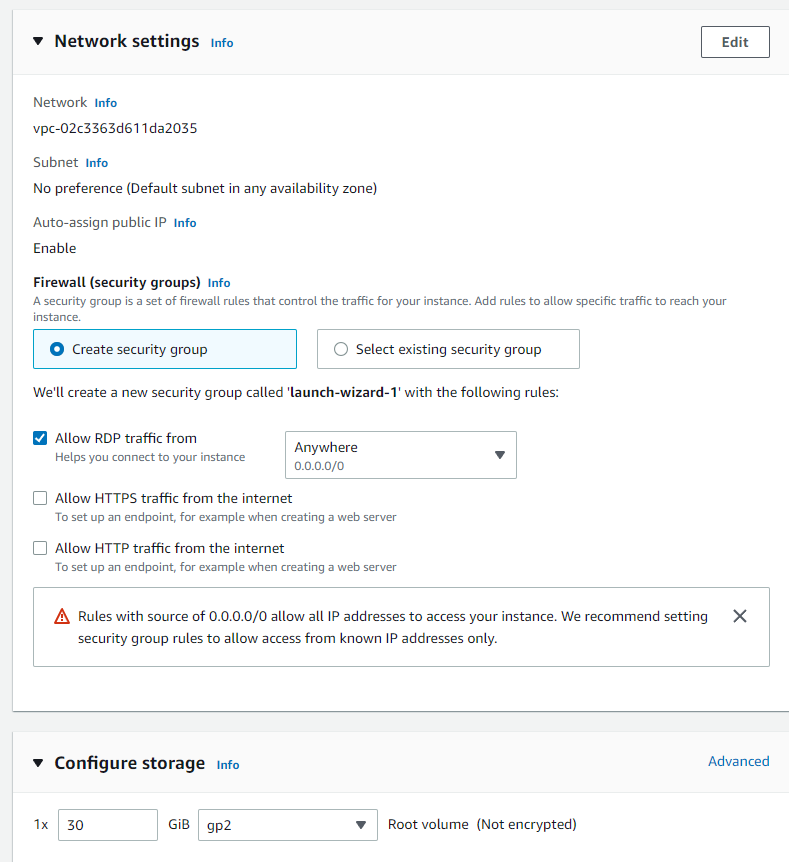
Leave the Network and Storage settings as they are
Launch your server!
Last updated